Hello and welcome, I am going to share a project that I did a few years ago but thought now was a great time to re-share it, and I also had it re-pinned on Pinterest recently and I told a gal Michelle that I would get the instructions up for her, so thank you for the motivation to post something.
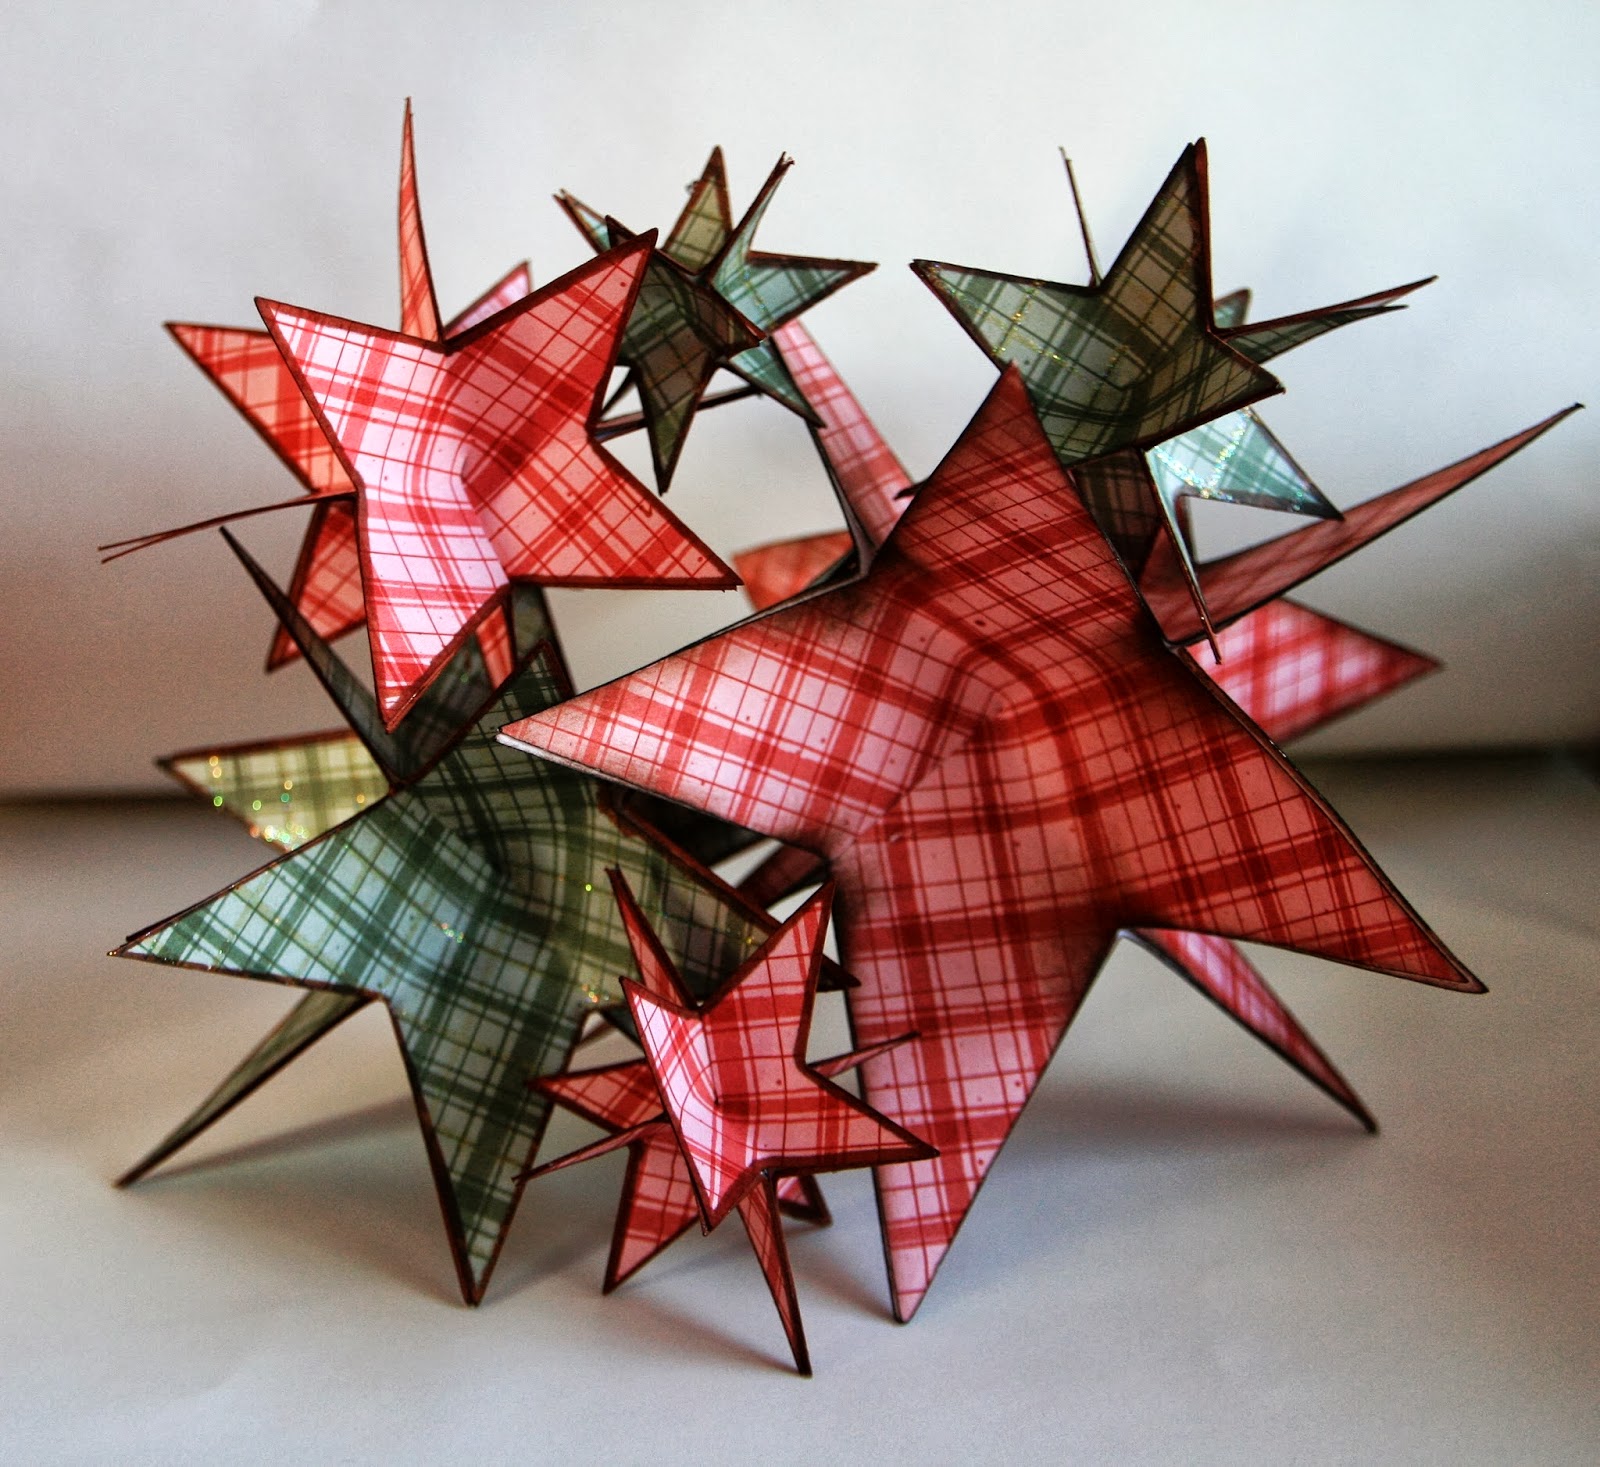
Here is what our finished project looks like.

You are going to start with six stars in any size and also any print of paper that suits your fancy. I used this fun paper from The Robin's Nest ( http://robinsnest-scrap.com/ ) I cut these stars out with my cricut machine. I am sure you could also find some clip art online that would work fine too.

Next you are going to make a cut through the middle of each of the stars as shown below.
(there are only four of the six stars shown in this picture...you do need all six )

After you cut each star, you are going to fold one of the points over the other on all six stars so you only have four points to each star and glue into place.

Here is a look at it from the front.

Here are all six stars folded and glued.

Next you are going to start gluing them together, be sure to line the points up as best you can. They will not all line up perfect so don't stress about that

Getting the first three-four together is no problem, it gets a little tricky, but not to hard with the fifth and sixth.

You will notice here below that you can see white from the back side of the paper I used, if this doesn't bother you, you are basically done with this step.

If you are like me and the project doesn't feel quite finished with the edges white, I just took a brown Sharpie marker and colored along the edges to give them a more completed look, you could also sponge the edges with ink if you like that look better. With that the fun 3D stars are a finished success!!

These are a super fun and easy project to do. I used them in my home as a centerpiece for the holidays, mixing two colors and several sizes together to make a great "pop". You could also add a ribbon and hang them on a tree or just as a hanging decoration in your home.
Thanks so much for looking and please if you have questions or comments don't hesitate to ask/share.
Happy Crafting,
Tara
No comments:
Post a Comment